My main aim was to keep it cheap, so basically it was built with stuff I already had lying around. It's not fancy, it's not got anything cool like magnet to hold miniatures, and it's really too heavy to be lugging around to transport miniatures on, but it'll do the job for the painting contest.

It's been made to keep in with the ash waste/moonscape style basing I decide to use on both my CSMs and Witch Hunters.
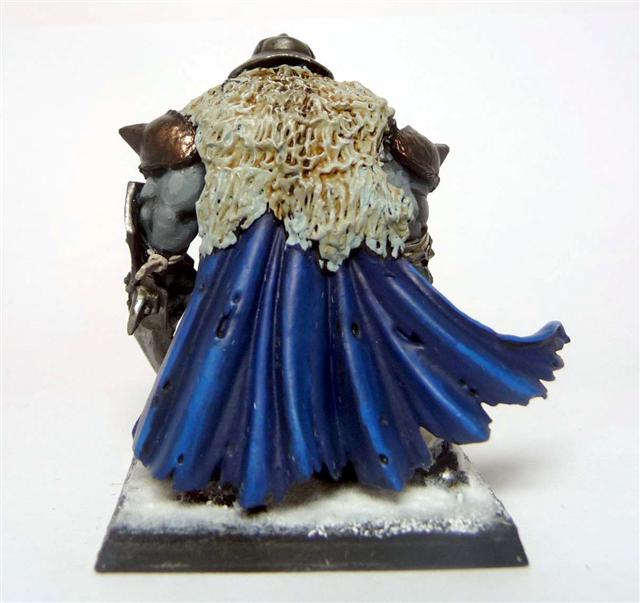
To give you an idea of size and how it fits with the basing style, here's it with some minis on it:

 I did a dry run at the weekend with my CSMs, but I'm not going to show you that as I'm sure some of the guys who will be playing at the weekend will be reading this and I don't want to reveal my list yet (mind you I don't think it'll help me much ;).
Construction of the board was done using stuff I found lying around the house.
-Base of MDF left over from when we had a new kitchen last year
-Bit of broken cork sheet (about 5mm think) I found in the loft
-2" foam offcuts left over from a club terrain project
-Cork bark hills (the previous owner of my house had a model railway in the loft and he left some bits behind)
-Lots of filler (the kind of stuff you use for filling in holes in walls eg Polyfilla), sand, gravel
Construction and painting was probably a couple of hours in total, though spread over several days.
Step 1: Cut two 2" foam triangles to go into the corners, PVA them on to the board. Hot wire cutters are ideal for cutting foam, but I didn't have any so I used a box saw. Use a sanding block to smooth off any rough patches.
Step 2: Glue cork bark to the front of the foam
Step 3: Glue bit of broken up cork sheet to the base to create an uneven surface
Step 4: Mix filler with sand and gravel, spread liberally over the base. Hands work to do the spreading, but I found a lolly stick to be better.
Step 5: Use filler mix to blend cork bark into the foam hills
Step 6: Leave this to dry for several days
Step 7: Mix PVA with a bit of water and paint liberally. I gave it a couple of coats to ensure all the sand and gravel is well stuck down. Make sure you cover the foam well with this mix if you're going to spray prime it.
Step 8: Prime it black
Step 9: Paint it black with household emulsion. I bought a couple of black tester pots for this which I finally found in Homebase. Black doesn't seem to be that popular for household walls...
Step 10: Drybrush dark grey using household emulsion (this was from B&Q and is called Soft Black).
Step 11: Mix some white emulsion with the grey, keep drybrushing until you are happy.
Obviously my intention was to create an ash waste theme, but the same technique can be applied to any surface. For example:
-Churned mud: Build in the same way, painting using dark brown with lighter drybrushes. You could use gloss varnish or water effects to create pool of water.
-Grass: Leave off the broken cork sheet, and leave out the gravel from the filler mix. Paint light brown and flock to taste.
-Snow: Depending on what effect you were after, you could do it as churned mud and add snow effects after. Alternatively, you go less rough like the grass method, paint the board pale grey with white highlights and then add you're preffered snow effects.